Stuffed Onions
on Dec 22, 2024, Updated Jan 14, 2025
This post may contain affiliate links. Please read our disclosure policy.

This Christmas I’m not asking Santa for cars or jewelry; all I want are stuffed onions! 🙏 This recipe is spectacular: a stunning arrangement that takes love and patience to prepare, with flavors that will make you feel nourished and loved. 🥰 The Balkan in me loves a meat-and-rice stuffing (Bulgarians are famous for their stuffed peppers for a reason!), and this recipe delivers on all the homey, comforting taste of an excellent slow-roasted, stuffed vegetable dish. Variations of these stuffed onions pop up all over the globe: the Middle East, Turkey, and Greece all have their own version. I drew special inspiration from Iraqi dolmas for my recipe. 🇮🇶 These melt-in-your-mouth onions burst with ground meat, fragrant spices, and rice, then simmer in a tangy tomato sauce until caramelized and soft.

Why You’ll Love Stuffed Onions
These stuffed onions take a bit of effort and patience to prepare; all the more reason to share them with loved ones! Your guests might not say anything when they try this dish—they’ll be too busy plating up seconds and thirds. 😉 This is the epitome of home-style comfort food, at least in my opinion. ❤️ A hearty stuffing of rice, meat, and savory spices, tucked neatly into tender, par-boiled onion rounds, curled up snug in a shallow pan, doused in tomato sauce, and slow-roasted until caramelized. 🤤 You can make quick work of preparing this dish by asking your guests to get involved in stuffing and rolling the onions, or you can prepare everything the day before and bake it just before serving. It’s a perfect dinner party recipe. 🪩
How to Prepare
🥩 To a bowl, add the ground meat, rinsed rice, spices, tomato paste, garlic, tomatoes, and parsley.
🫱 Then mix well and set aside.


🧅 Next, use a sharp knife to cut each end off of the onion, place it flat side down, and cut it down the middle starting from the center (making sure not to cut it in half). Repeat this step for each onion.


💧 Now, fill a pot with water, place the onions inside, and cook for 15 minutes from the boiling point.
❄️ Once boiled, drain the water carefully and let the onions cool.


🌀 Now, take each onion layer, add a tablespoon of filling to it, and roll. Repeat this step until the layers are filled and filled until the meat is finished.
🥘 Arrange the stuffed onions seam-side down tightly into a round dish.
🧈 In a pot on the stove, melt the ghee (or butter). Add in the tomato paste and broth and then pour over the onions.


👩🍳 Pour the warm broth over the stuffed onions, add a piece of parchment paper on top, and then foil.
🔥 Finally, place it in a preheated 425F (220C) oven and bake covered for 45 minutes. Then uncover and bake for another 15 minutes. Place on broil for the last few minutes for a beautiful caramelized color.


Nonna’s Tip 🧅
You can soak the rice for 30 minutes prior to adding it to the meat for a more tender grain.

Variations and Substitutions for Stuffed Onions
- I used ground pork in this Stuffed Onions recipe, but you can absolutely use ground 🥩 beef, turkey, chicken, or lamb (or a mixture).
- Make this recipe vegetarian, by using finely chopped 🍄 mushrooms, lentils, a beyond meat alternative, or crumbled tofu instead of ground meat.
- You can add a bit of 🌶️ spice to these Stuffed Onions by adding some chili flakes or a pinch of cayenne to the filling or sauce.
- Although not traditional, you can add a bit of feta to the filling as well.
Similar Recipes

Stuffed Peppers with Feta
50 mins

Spinach Stuffed Mushrooms
30 mins

Breakfast Stuffed Peppers
25 mins

Pizza Stuffed Mushrooms
28 mins

Bulgarian Stuffed Peppers
1 hr 20 mins
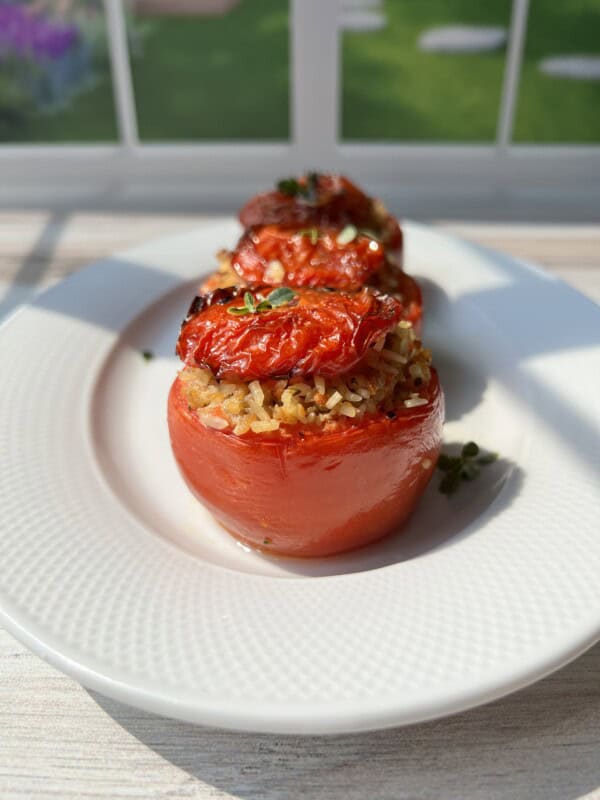
Stuffed Tomatoes
1 hr 20 mins
Leftover Onion Hearts Suggestions
You know me, I never toss leftover ingredients! In this case, because we’re only using the exterior onion layers, you’ll be left with 6-8 onion hearts that are tender, sweet and full of flavor. Some ideas to put them to great use:
🧅 Use in the Stuffing: Finely dice the onion hearts and mix them into the meat mixture.
🫒 Quick fry: Chop up the onion hearts and saute in a pan with some olive oil, garlic, and your favorite herbs for a quick and tasty side dish.
🍔 Caramelized Onions: Finely slice the onions and cook on low heat with butter for caramelized onions to use as a topping for burgers, steaks, or sandwiches.
🍅 Blend into Sauces: Add them to a marinara, curry, or creamy sauces for a boost of flavor.
🍳 Use in Scrambled Eggs or Omelets: Chop up and toss them into egg dishes for a savory breakfast.
Best Served With
- Thes Stuffed Onions are traditionally paired with plain yogurt.
- Serve this recipe with a fresh 🥗 green salad or roasted vegetables.
- Serve this with a loaf of crusty 🍞 bread, like my No Knead Bread or No Knead Gluten Free Bread.
Common Questions
Yes, you can substitute ground pork with ground beef, turkey, chicken, or lamb.
The onion hearts can be used in vegetable broth or diced and added to the filling.
You can absolutely get ahead and prepare the meat mixture the night before. Just mix altogether, cover and leave it in the fridge overnight. Before stuffing the onions, let the meat sit at room temperature for about 30 minutes or so.
Absolutely! Replace the ground meat with finely chopped mushrooms, lentils, a beyond meat alternative, or crumbled tofu.
Be careful not to overboil the onions. Cook them just until the layers start to soften and separate. Let them cool completely before stuffing to reduce tearing.
The parchment paper helps keep the moisture in and prevents the onions from drying out. If you don’t have parchment, you can just do the foil paper, or even a tight-fitting lid.
Stuffed Onions
Video
Equipment
Ingredients
The Stuffing
The Sauce
- 1 tablespoon ghee, or butter
- 2 tablespoons tomato paste
- 2 cups broth , beef, chicken, or veg
Instructions
- To a bowl, add the ground meat, rinsed rice, spices, tomato paste, garlic, tomatoes, and parsley. Mix well and set aside.
- Note: you can also prepare the meat the night before, leave it in the fridge and let it sit out for 30 min or so before stuffing.
- Next, cut each end off of the onion, place it flat side down and cut it down the middle starting from the centre making sure not to cut it in half.
- Repeat this step for each onion. Now, fill a pot with water, place the onions inside and cook for 15 minutes from the boiling point.
- The layers should start to pull apart. Make sure you don't boil them too much as they can break apart so keep an eye on them.
- When boiled, drain the water carefully and let the onions cool. You can even run them under cold water to speed up the process.
- Take each onion layer, add a tablespoon of filling to it and roll. Repeat this step until the layers are filled and filled until the meat is finished. I had a total of 34 stuffed onions but your quantity may vary depending on the size.
- Note: if using larger onions the layers might be too long so feel free to cut it in half. Also, the onion hearts can be used in vegetable broth or diced and added to the filling.
- Arrange the stuffed onions seam-side down tightly into a round dish and work on the sauce.
The Sauce
- In a pot on the stove, melt the ghee (or butter). Add in the tomato paste and broth. Taste and add a pinch of salt if needed.
- Pour the warm broth over the stuffed onions, add a piece of parchment paper on top and then foil.
- Place it in a preheated 425F (220C) oven and bake covered for 45 minutes and uncovered for another 15. Place on broil for the last few min if you want a beautiful caramelized color.
- We like to serve these with a side of plain yogurt but you can enjoy them just as is. They can be stored in the fridge for up to five days.
Nonna’s Notes
My Notes
Nutrition
Nutrition information is automatically calculated, so should only be used as an approximation.


Do you cook the ground pork before you stuff the onion like stuffed cabbage
No, the meat mixture is not cooked beforehand. It bakes with the onions. ❤️