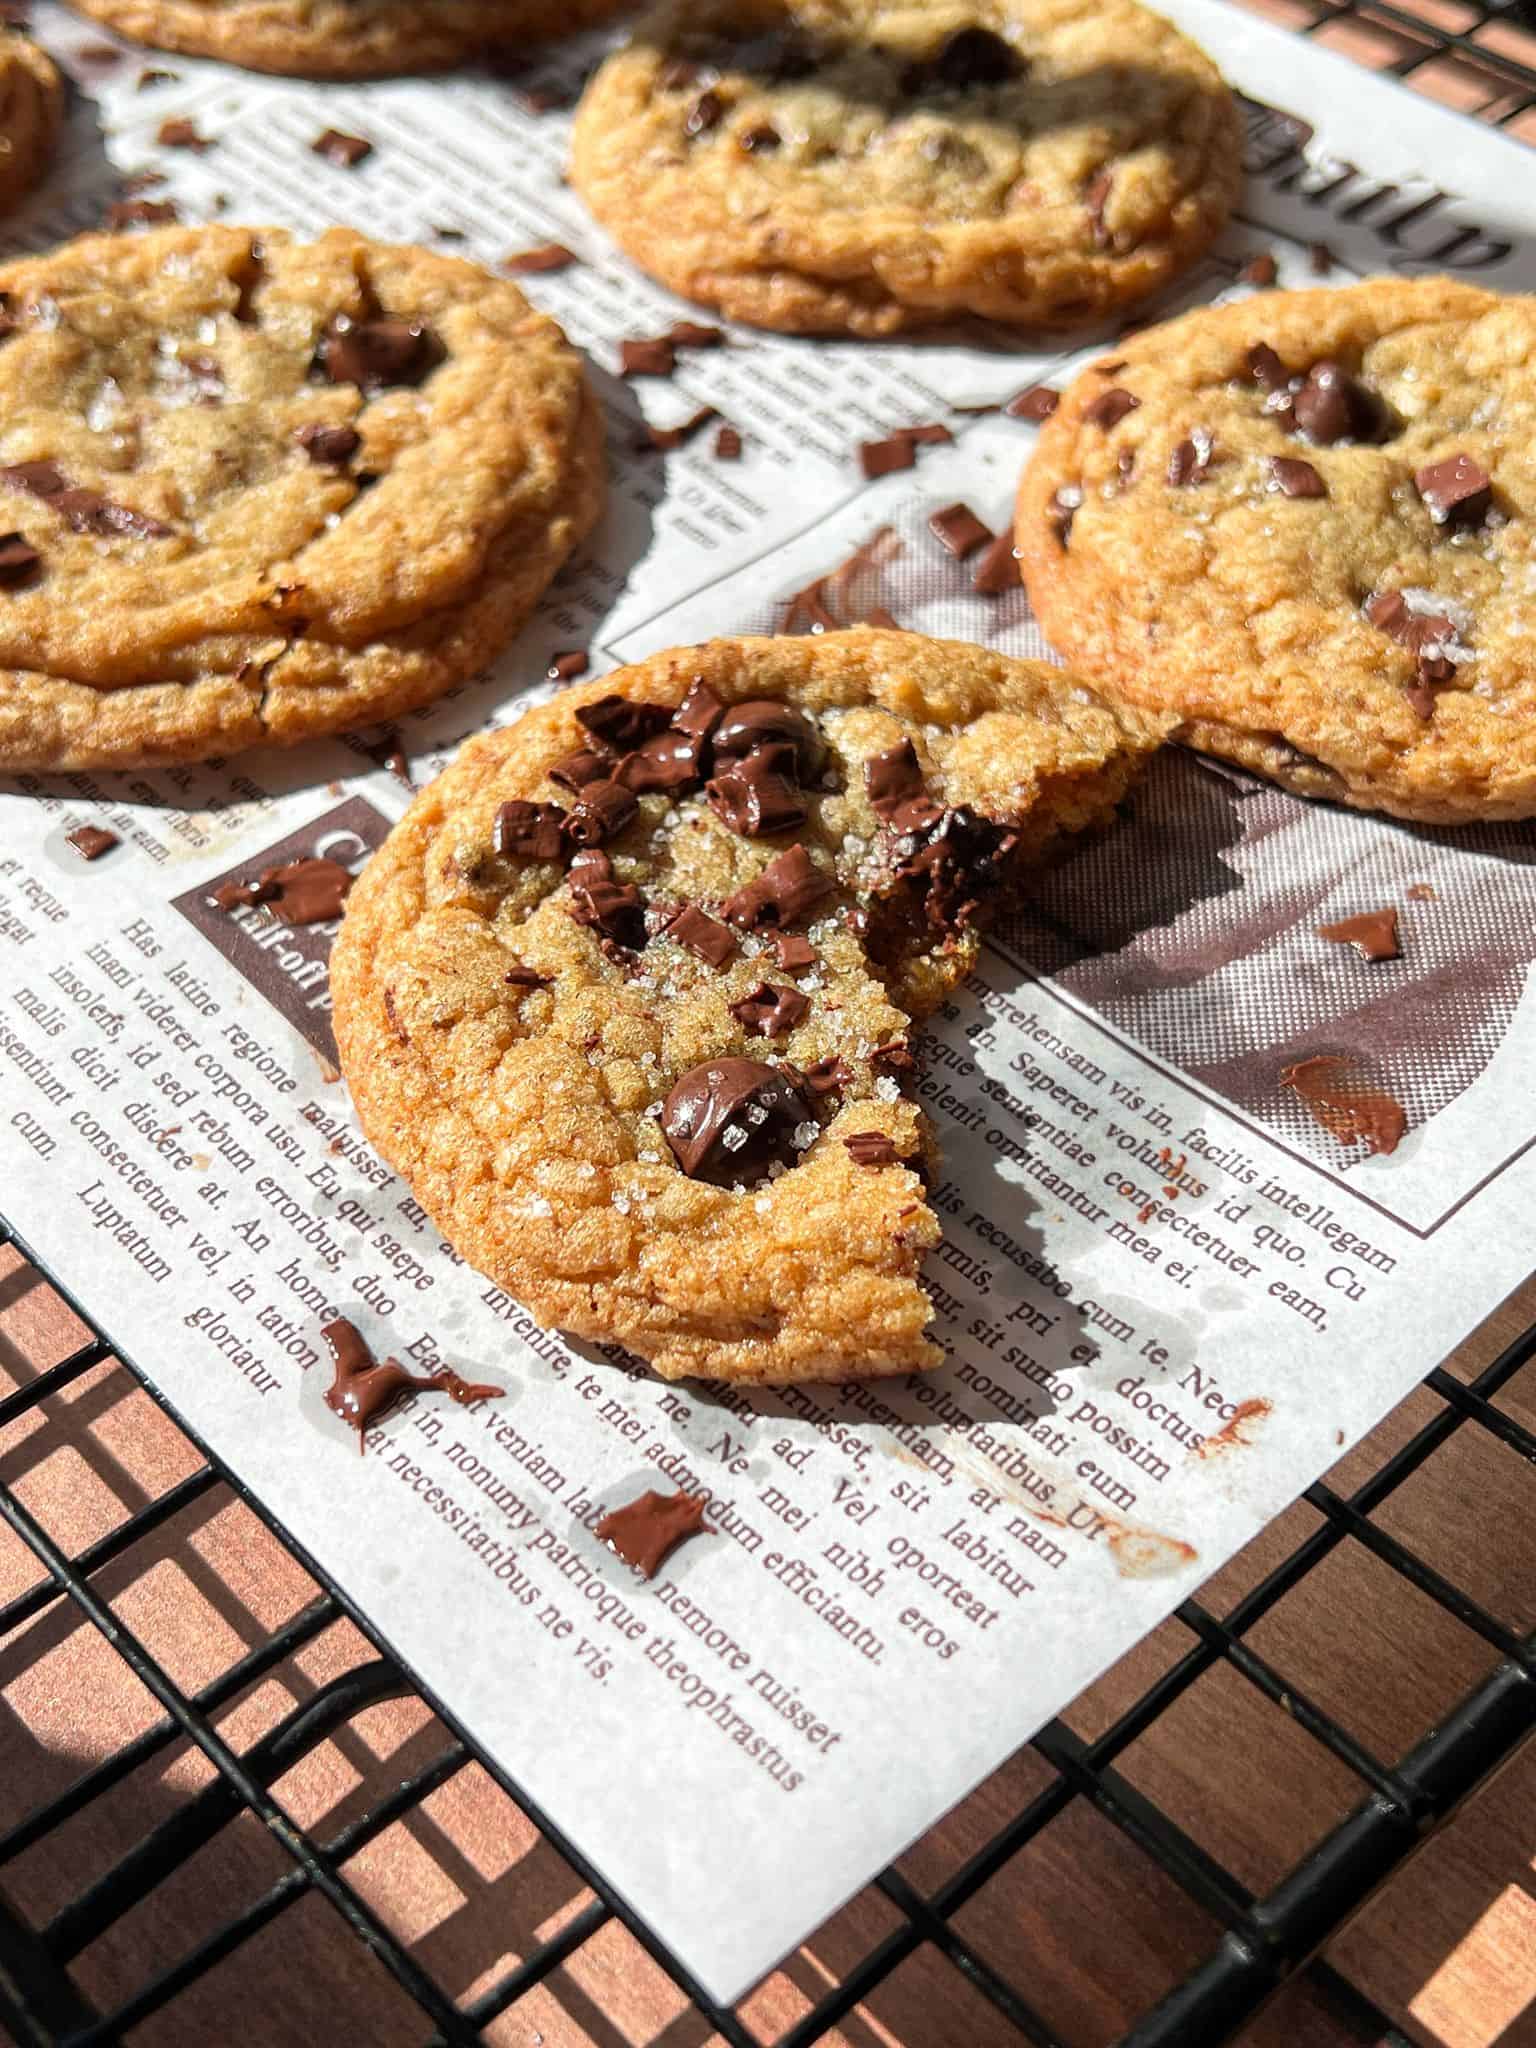
Brown Butter Chocolate Chip Cookies
Crispy edges, chewy centers, and a rich nutty flavor from brown butter - these chocolate chip cookies are bakery-level perfection made right in your kitchen 🍪
Servings: 22 small cookies
Equipment
Ingredients
- ½ cup unsalted butter
- 1 tablespoon water to add back after browning
- ⅔ cup brown sugar
- ⅓ cup granulated sugar
- 1 large egg
- 1.5 teaspoons vanilla bean paste
- 1¼ cups all-purpose flour
- ½ teaspoon baking soda
- ¼ teaspoon salt
- ¾ cup chocolate chips or chopped chocolate
Instructions
Brown Butter
- Note: For best results, always use the metric measurements provided in my baking recipes and weigh your dry ingredients. Measuring with cups is far less accurate and can lead to inconsistent results. To view the recipe in grams, simply click on “Metric” under the Ingredients list.
- In a light-colored saucepan over medium heat, melt the butter while stirring constantly. It will foam, then the milk solids will turn golden brown and smell nutty. This takes about 5–7 minutes.
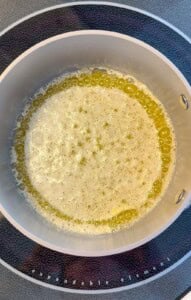
- Tip: Don’t overcook the butter, as it can burn. You will know when the brown butter is ready because it will foam up and “pop” and the moment the butter goes “quiet” take it off the heat immediately and pour into a heat proof bowl to cool.
- Check the smell of the butter: Nutty, toasty, caramel-like: perfect! Acrid, bitter, or burnt popcorn: it’s scorched, and that burnt flavor will carry into the cookies. If that happens, it’s best to start over.
Add Water
- Once the browned butter is cooled, stir in 1 tablespoon of water to replace the moisture lost during browning. Be sure to cool butter completely before adding in the water. Additionally, you can add a tablespoon of milk or cream to add moisture back in too.
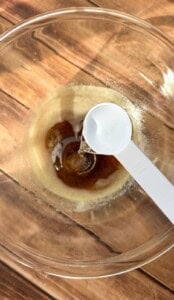
- Note: This step is crucial, as most brown butter recipes skip it. Replacing the moisture keeps the cookies soft and chewy.
Wet Ingredients
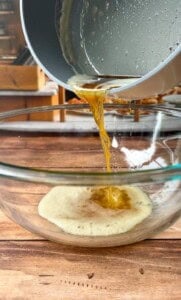
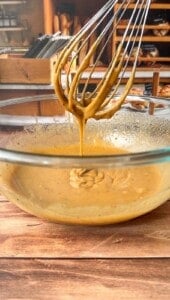
- To the cooled brown butter, add the brown sugar, white sugar, and mix well. Add the vanilla, egg, and mix again until you have a smooth batter. Feel free to use a whisk or hand mixer if you have one.
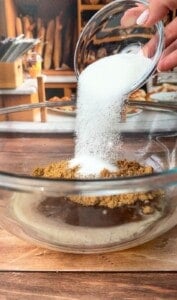
- Whisk until smooth and glossy, about 1 minute.
Dry Ingredients
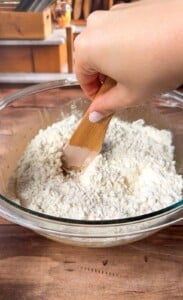
- In a separate bowl, sift together the flour, baking soda, and salt. Stir into the wet mixture until just combined. Do not overmix, and make sure the baking soda is not expired.
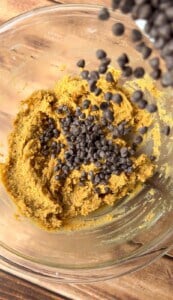
- Stir in your chocolate chips or chunks until evenly distributed. I prefer to use a 70% dark chocolate bar but feel free to use anything you enjoy.
- Scoop the cookie dough with a small ice cream scoop making sure to scoop firmly ralong the side of the bowl. Place them on a tray or plate, cover, and refrigerate for at least 2 hours or up to overnight.
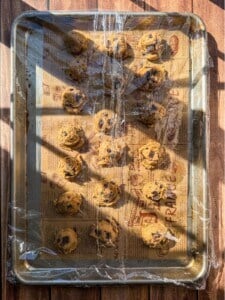
- This helps the cookies hold their shape and develop flavor.
- Tip: Scoop and shape first, then chill. Here’s why: Shaping cold dough is harder (it stiffens). Pre-scooped dough chills evenly and is ready to bake straight from the fridge or freezer. You also get more consistent spreading when each ball chills the same way.
Bake
- Preheat oven to 350°F (175°C).
- Line a baking sheet with parchment paper. Place the chilled dough balls spaced apart.

- For small cookies (about 22 total): bake 9–11 minutes.
- For larger cookies (about 12 total): bake 11–13 minutes.
- Bake until the edges are golden and the centres look slightly underbaked, as they’ll firm up while cooling.
Cool
- Let cookies rest on the baking sheet for 5 minutes, then transfer to a rack to cool completely.
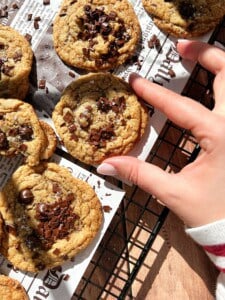
- Finish with a sprinkle of flaky sea salt on top for the perfect touch.
Video
Notes
- Brown butter tips: Stir constantly and remove from heat once it smells nutty and caramel-like - it will foam, pop, then go quiet. A few seconds too long can burn it. Cool completely before adding back 1 tbsp water (or milk/cream) to restore lost moisture.
- Flavor upgrades: Swap the water for coffee ☕️ to deepen the flavor, or stir in toasted nuts 🌰 for crunch. Use chopped chocolate 🍫 instead of chips for big, melty pools.
- Skip the brown butter? Use regular melted butter 🧈. The flavor won’t be as rich, but texture stays great, and you can skip the added water.
- Chill time matters: Chill 30–60 min for thinner cookies, or 24 hrs for thicker, chewy, bakery-style ones. Always scoop before chilling - cold dough is harder to shape.
- Size + bake time: Makes 22 small cookies (10–12 min) or 7 large (13–15 min). Tap the baking sheet after baking to help thinner cookies deflate slightly.
- Baking cues: Don’t overbake - edges should be golden, centers soft.
- Mixing: Don’t overmix the dough. If rolling by hand, cookies will be smoother but slightly greasier.
- Dry ingredients: Always sift flour, baking soda, and salt, and check that your baking soda isn’t expired.
- Finishing touch: Sprinkle with flaky salt (or sea salt 🧂) after baking.
- Storage: Store in an airtight container with parchment between layers. Lasts 3–5 days soft or up to 10 days crisp. Add a small piece of bread or apple slice to keep cookies moist.
- Freezing: Cool completely, flash freeze, then store in a freezer-safe bag.
Nutrition
Serving: 1 cookie | Calories: 135kcal | Carbohydrates: 19g | Protein: 1g | Fat: 6g | Saturated Fat: 4g | Polyunsaturated Fat: 0.2g | Monounsaturated Fat: 1g | Trans Fat: 0.2g | Cholesterol: 19mg | Sodium: 57mg | Potassium: 38mg | Fiber: 0.2g | Sugar: 13g | Vitamin A: 140IU | Calcium: 13mg | Iron: 0.4mg
