Banana Pudding Yogurt Cheesecake
This dessert is my fun little twist on the Japanese cheesecake hack that took the internet by storm - creamy, nostalgic, and somehow feels like magic with almost zero effort.
Servings: 1 portion
Ingredients
- 100 grams banana flavored Greek yogurt about 3.5 oz
- 5 vanilla wafers I used Nilla wafers
Instructions
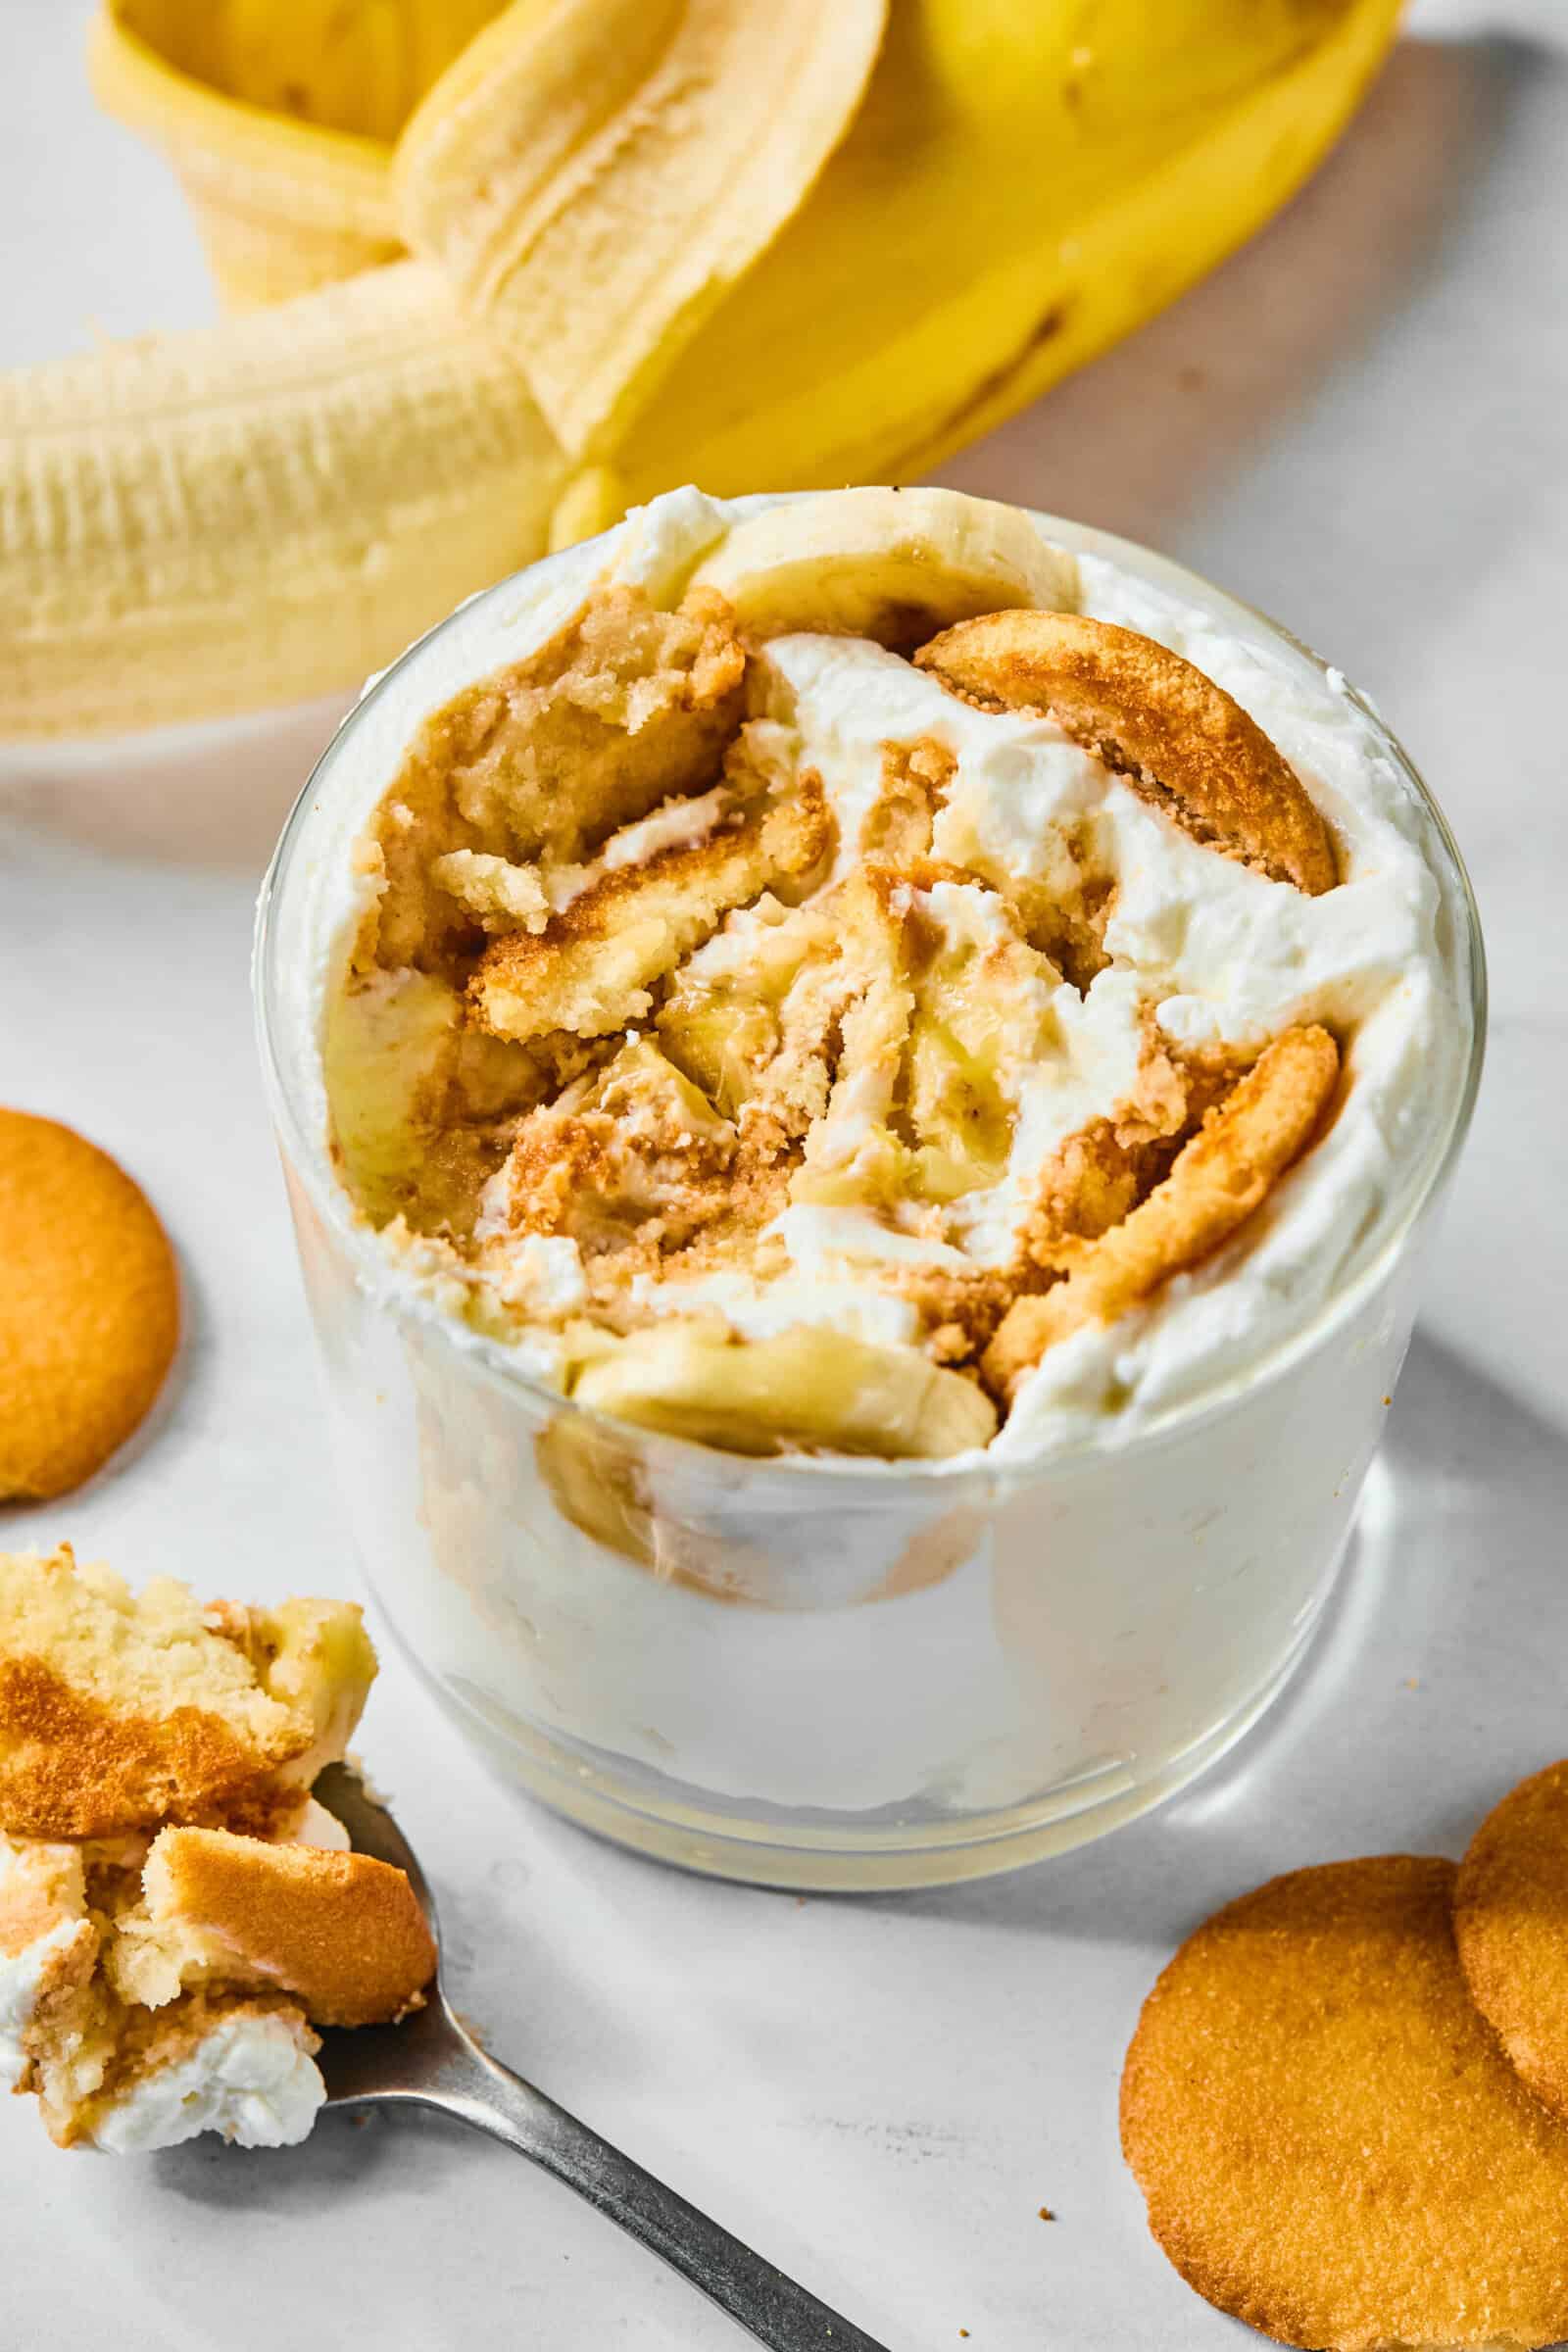
- Open the yogurt container. You can either use the yogurt directly in its original packaging or transfer it to a slightly larger cup or container.
- Gently stick the vanilla wafers straight down into the yogurt, pressing them in as deep as possible without fully submerging them. The tops of the wafers should remain exposed so they soften but do not turn overly mushy.
- Cover the container tightly with plastic wrap, a lid, or the yogurt foil. Place in the refrigerator overnight to set.
- The next day, remove from the fridge, scoop with a spoon, and enjoy a creamy, banana pudding–style cheesecake texture without any baking.
Note: keep in mind that once the wafers are added, the yogurt level will rise and may spill over if the container is very full.
Note: I used five small vanilla wafers, but you can use more or fewer depending on preference, just note this will change the macros.
Notes
- Container size matters: If your yogurt cup is filled close to the top, take some out or transfer it to a slightly larger container before adding the wafers since they displace volume and can overflow.
- Wafer placement: Don’t fully bury the wafers; keep the tops exposed so they soften into a cheesecake-like texture without turning overly mushy.
- Chill time = texture: The full overnight chill (at least 6 hours) is what transforms the yogurt into a thick, cheesecake-style consistency.
- Yogurt choice: Thick Greek yogurt works best; however, you can use plain, flavored, or plant-based yogurt.
- Storage: This is best enjoyed within 24 hours for ideal texture since the wafers continue to soften over time. Keep it tightly covered in the refrigerator until ready to eat.
Nutrition
Serving: 1 cheesecake | Calories: 178kcal | Carbohydrates: 42.2g | Protein: 10.5g | Fat: 5.9g | Saturated Fat: 2.9g | Cholesterol: 16.2mg | Sodium: 237.5mg | Sugar: 23.8g
